How to Install Plexus On Kodi
The below tutorial helps you to install plexus on the Kodi media player. It’s an add-on for Kodi that lets you watch peer-to-peer deprived of the requirement for outside add-ons.
Plexus is like a codec for PC, special writing that interprets data and offers it to you in filmed format.
With Plexus, the designer has detached parsers and tilts, detached current Python hands, and added a stream director.
So if you want to install it in your Kodi then read the article carefully.
How to Install Plexus On Kodi
On your device explore Kodi and click on Settings.

Then click on the System option.

Now tap on the Add-ons option.

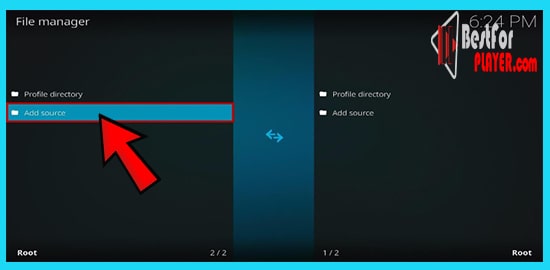
Return back to the menu option and press File Manager.

Tap on Add source.
Here a new box comes up just tap on <None> key.
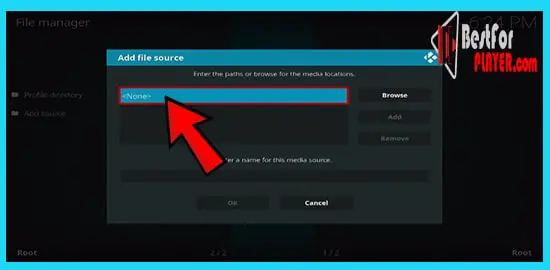
Copy and paste the mentioned URL http://rockodi.com/ and tap OK.

Name this file as Plexus or you can choose your own and click OK.

At this time return back to the home screen and choice the Add-ons option.

Then tap on Install from Zip File.
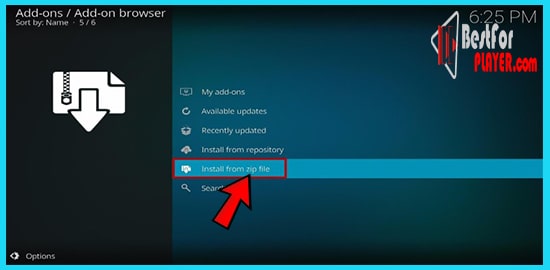
Here a new box comes up, choose Plexus or any title you choose above.

Select repository.rockcrusher-2.8.zip.
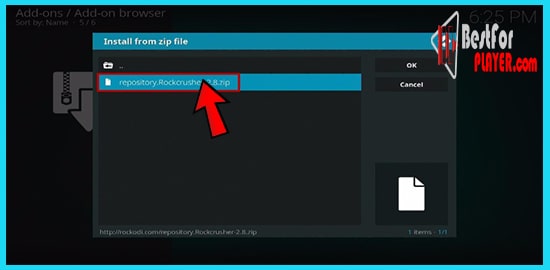
Wait for the installation. When the installation finishes a pop-up comes on the top right screen.

Again press on Install from Repository.

Then choice rock repo from the tilt.

Tap on the Programs Add-ons option.

Choice Plexus.

At this stage tap on the Install key.

Wait a couple of minutes or less it will show you an installation finish notification.

That’s all. Hope now you can solve your problem. We recommend you to use a VPN for safety.

I am Bernard Damian, Founder of bestforplayer.com. I am a professional content writer, freelancer. I am a computer expert and have written articles for technology, computer and software magazines as well as websites like Techradar or PC Magazines. If you have any questions, comments, suggestions. feel free to contact us.

How to Install Navi X on Kodi 17

How to Install Neptune Rising on Kodi